


More visual management in teaching
- Grab a pack of highlighters (make sure there’s a range of colours)
- Grab the latest work from your class (put the weakest at the top)
- Open a suitable word processor
Ok, you’re ready to begin
This method of marking has two big benefits;
- It’s quicker for the teacher
- It puts the onus on the student to be more independent in their improvement of work
Like I say this isn’t new, and in fact its a mixture of methods from Primary and the marking grids that I’ve raved about in the past.

What to do
You’re going to use the weakest work as the model, mark it thoroughly, and decide what each colour will mean based on this work. BUT – ALWAYS use GREEN to indicate GOOD work! This way your learners learn to look out for it time and time again!
I love it when my students get their work back and instantly shout “YES more green!” they know they’ve done something good and are then happier about tackling improvements.


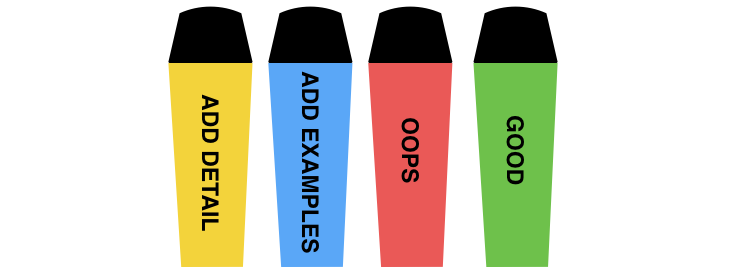
Example colour key written by teacher and given to learners with their work.
As you mark you’ll pick out things you know they’ll all have a problem with.
For example in a recent assignment I realised the student I marked first had explained items but the specification required learners to explain AND use examples. So I opted to use the colour blue to represent ‘Examples needed to strengthen this’.
I highlight the ends of paragraphs with blue which needed these adding and added the necessary text and example to the key document.


As simple as highlighting the areas you need learners to improve in some way – as well as what stands out as good work!
And that’s it, mark one assignment as your model and create a colour key from this as you mark, then with all remaining work you mark using the colour key and add additional comments sparingly as need be.
Feedback lesson
Then in the next lesson model for the students how to read/use the key against their assessed work and leave them to get on!
This works for every single year group – the difference is the key, the amount of detail and the language you use.
Common keys I use:
- GREEN = Good work, this is really good!
- YELLOW = This could be improved if you related it to the example from the text, try to use names form the text to support what you’re saying.
- BLUE = An example would strengthen this, try to think about examples we discussed in class such as “the river always erodes the land because…”
- RED = Oh no something isn’t right here, can you re-read this? Check it is related to the topic and try again?
- AMBER = Can we talk about this? Come and see me at the start of the lesson.
Try it out for yourself, my whole faculty will be using this method in the new year as a result of my use with KS3 and Post 16.


Example of assessed work.